Sunday, January 19, 2014

Ridiculously Easy Cornbread

I bought cornmeal the other day and have been dying to try out a recipe from the Tassajara Bread Book. Unfortunately, there's no cornbread recipe per say, but there are a couple cornmeal muffin recipes. So I decided to try one of those, and just stick it in a loaf pan instead. I prefer sweeter cornbread, so I tried this one:

I used yellow cornmeal instead.

So easy, another one that can be done on the fly, while chasing a little one around! However, I have to admit, not my favourite. Definitely not bad, and for how easy it was, I love it, but to be honest, I just found it kind of boring... Later this month, I'm going to attempt a sweet potato cornbread recipe from the Sweet Kitchen and see how it stacks up.


It doesn't rise very much at all, but look at that beautiful golden colour!

I love cornbread with warm beef on top and earlier this week, I made a coconut curry beef roast in the crock pot. Piled on the bread and warmed up in the oven, it was awesome! Add a poached egg or two and it makes a bomb breakfast!


Thursday, January 16, 2014

Nana's Oatmeal Gumdrop Cookies

Yesterday was my husband's day off, so I was able to more easily get some work done around the house and get my baking done without having to run to stop my son from sticking his hand in Yuki's water dish! Lol though, even when Adrian's not off, these cookies are so easy to make that having to chase after Jaxson is hardly a deterrent!

These cookies were my favourite growing up. We didn't have them often, but as I grew I to adulthood, they were always something I remembered. Even now, despite how sweet these are, I swear I could eat a whole batch myself! The dough alone is the best dough I've ever smelled! I couldn't believe that my husband had never heard of these, let alone baking gumdrops (come on, jujubes in cookies? How can you go wrong??). I can confidently say that he's as obsessed with them as I was…. am…. Even Jaxson comes crawling over and stares at these cookies when we eat them! I know they'll be his favourite when he's older too ;-)

This past year, I got the recipe from my mum, and she told me the recipe is actually my dad's grandma's. It's funny how most of the amazing baking recipes are from that generation, eh? And those are the ones that are being passed down.

Anyway, this cookies are chewy, delicious, and not at all good for you! Just how proper cookies should be!! They use baking gumdrops, which I had a dickens of a time finding and ended up rediscovering at the Bulk Barn here in Saskatoon. Great store to buy baking essentials as you need them (for those of us with limited cupboard space for storage).


The recipe is as follows, ridiculously easy:
Mix all ingredients together:
2 cups Rolled Oats
2 cups Flour
1 cup Sugar
1 cup packed Brown Sugar (I find light brown sugar makes them softer and chewier)
2 Eggs
1 cup Butter
1 cup Unsweetened Coconut
1 cup Baking Gumdrops
1 tsp Baking Soda
1 tsp Baking Powder
Vanilla (I like to mix this into the melted butter before adding it to the dry ingredients)
¼ tsp Salt

Spoon onto a greased cookie tray and flatten slightly with a fork. They flatten out quite a bit (as you can see from the picture below, so make sure to space them well apart! The recipe says to bake them at 300° for 20-25 minutes, but I find that's a bit too much. I bake them for 18 minutes (until they are just slightly golden around the outside) and then let them cool on the tray for about 5 minutes before transferring them to a wire rack.


Rather than greasing the cookie tray, I also just put a piece of parchment paper down - I've been obsessed with this stuff lately! You can reuse it multiple times, and it makes clean up sooooooo much easier!!

Yum yum, almost too good to share! But then again, something this good just HAS to be shared!

Tuesday, January 14, 2014

Coconut Oil and Coffee Grounds Face Mask/Scrub


I love coconut oil. I also love coffee. The other day, my friend told me about a face mask/scrub using just coconut oil and used coffee grounds. I decided to give it a try, but wanted to do a bit of reading first. 

Your skin absorbs most of what you put on it, which is why it's so important to know what you're using for skin care. Both coconut oil and coffee are high in antioxidants, making them great things to put on your skin and in your body!! This scrub is also supposed to firm your skin and give you an energy boost (since you do absorb a bit of the coffee through your skin, so I don't recommend trying this at night!)

The recipe I found was nice and simple. A 1:1 ratio for the two ingredients (I did 1/4 cup of each). To make it easier, melt the coconut oil first. Mix in the coffee grounds (new or used, it doesn't matter) and then let the oil cool, mixing often so that the grounds don't just sink to the bottom. This step ended up taking so long that I finally stuck it in the fridge for about 10 minutes - that's really all it needs to cool fully. Much longer and you don't be able to mix it.

Cooling


Cooled and well mixed
One thing I will say about this is the concoction smells amazing!!

The grounds I used were a bit too coarse for my liking, and next time I'll be sure to grind them finer. I left the mask on for about 15 minutes. I probably didn't need to do it for that long, but it definitely didn't hurt! It tickled a bit as the coconut oil melted down my chin and neck and i'm sure the grinds slid down my face too, but I couldn't tell by looking - this is one thing I didn't like about it... Though I do think that with finer grounds, I will get more of a paste and it will spread on and also stick better to my face.

Grounds were too coarse, so I had to be careful when exfoliating
To wash it off, just spash your face with warm water and gently massage the grinds into your skin. Proceed to wash your face as usual, finishing with your toner and moisturizer routine, though you may feel with the coconut oil that you can skip the moisturizing step. You may need a bit warmer water to get the coconut oil off, or a couple washes. This step is quite messy, so either make sure you're right over the sink or hop in the shower!

My skin felt soft, smooth, and moisturized. I also think it looked very radiant! ;-)


Definitely worth trying!

*a warning though. Coconut oil is comedogenic. It MAY clog your pores. If you have sensitive skin, or are prone to break outs, some better oils to use with this are: hazelnut oil, jojoba oil, grape seed oil or sweet almond oil. 

Sunday, January 12, 2014

Celebrating 40 Days of Yoga with Dark Chewy Gingerbread

40 days ago, today, I challenged my fellow mommy friend,  Brittany, to join me in taking up a challenge to do yoga every day for 40 days. It takes 40 days to make our break a habit, and the idea was that after 40 days we would both be craving yoga and would continue to do it daily. I can say that it was a success! Not only do I need yoga every day now, I have also felt my body strengthen after childbirth to the point where I need 40 minutes to an hour of yoga. I started off challenging myself to just 20 minutes a day. It was all I felt I had time for with Jaxson, and to be honest, I was still so weak and out of shape from my pregnancy and delivery (even though it had been 6 months) that it's all my body could handle. It was amazing to me how fast that changed though! After only 20 days, not only did I need to increase how much I did each day, but if I missed a day (as I admit, did happen as it was over Christmas... To make up for it, I did double the next day) I had trouble going to sleep and felt there was too much energy contained in my body. I'm happy to say I succeeded in this challenge and will continue doing yoga every day from here on out! It has become a vital part of my life and a stabilizer for me as a new mum - it is what I need each day to balance and center myself to be the best mum I can be.

To celebrate this success, I decided to try a new recipe from an amazing baking book Adrian found a few months ago: In The Sweet Kitchen.


This book is like a course in baking, written by a very successful baker from Toronto. In the first half, she talks about ingredients and utensils for baking, what to spend money on, what you can skimp on, what different ingredients' job is in recipes, even where in the oven you should place the baking tray.... It's amazing! The second half has some of the most incredible recipes I have ever seen! Decadent, but made accessible to the humble, cheap home baker!

I eventually want to try every recipe in this book. To celebrate today, I decided to try her Black Sticky Gingerbread!


I didn't have any dark or flower honey, but I did have some manuka honey. Since it's so expensive, though, I only used a tablespoon and topped that up with boring old liquid honey. I like to think it gave this cake a richer flavour. I'm also not a huge fan of fresh ginger in baking- I find it too spicey and that it often overpowers the dish... So to try minimize that and avoid any chunks in bites, I used a rasp to grate the ginger. I'm glad I did! This cake does have a bit of a bite to it, and unless you're a big fan of fresh ginger, I would grate it as finely as you can!

Melting the liquid ingredients and brown sugar. Beautiful butter swirl!
I first melted the first five ingredients, mixing well and then set it aside in a large bowl to cool. Once it cooled, I beat in the eggs, one at a time, then stirred in the milk. Next, I added the dry ingredients and placed the dough in a 9x9 pan to bake. You don't want to mix it too much, as I think I did (see the bubbles in the batter in the picture below).

Ready to bake.
Bake at 325 for 1-1.5 hours, until the cake bounces back when you touch it. I only needed to bake it for just over an hour.

50 minutes in and my tummy was grumbling and my mouth was watering! It smelled sooooooo good!

Done and cooling!

No idea why the diamond appeared during baking, but I kind of like it.
Let the cake cool in the pan for 15 minutes and then transfer to a wire rack. The parchment paper lining the greased pan is a trick from this book to easily and neatly remove the cake - it works like a charm!

This cake is rich, dark, flavourful and chewy. Interestingly, I find that more of the flavour comes out of it over time - it doesn't all hit you at once. A very nice effect!

It's recommended to serve it at room temperature, but quite frankly, it's good cold out of the fridge or warmed up in the oven or microwave too! I served it with a rum, cinnamon and vanilla whipped cream. Yum!


Thursday, January 9, 2014

The Benefits of Beeswax


I got a gorgeous pure Pheylonian beeswax candle from my awesome, loving mum for Christmas and was absolutely stoked, and even more so after I had done a little bit of reading about them!
Beeswax has a beautiful, sweet smell whether it's burning or not. It's also completely natural- not filled with dyes or cancer causing fragrance. The flame, believe it or not, burns with a halo and the candles have an incredibly long burn time (hundreds of hours!)

By comparison, paraffin candles start as the blackish-grey sludge that oozes out of petroleum refineries. This disgusting substance is then bleached and carcinogenically 'solidified'. As I'm sure all of you are aware of too, paraffin candles never burn evenly, and never burn all the way through- you end up having to throw a bunch of it out. Paraffin candles emit a black smoke that ends up coating your walls and ceilings, whether or not you can see it.

Enough about paraffin - you get the idea... More about beeswax!

Beautiful flame, eh? Can you see the halo?
Beeswax candles emit negative ions. What are negative ions and why are they good for you? Everything floating in the air in your home - from dust mites, pollen and bacteria to residues and emissions from construction materials - is positively charged. Even odours from food, mold and mildew and pets are positively charged. Burning beeswax candles releases negative ions into the air (think of it as being near the ocean or a forest, in the sense that you breath easier and deeper around those things). Negative ions bind to the positive ones, creating heavier molecules that simple fall to the floor. Beeswax candles burn the dust, pollen, etc from the air - the more black ash around the wick, the dustier your home is! Because of this, burning a beeswax candle can help treat the symptoms of asthma and hay fever.

Another great thing about these candles is they are great essential oil diffusers. Beeswax burns hot and is therefore an excellent diffuser! Allow the candle to burn until there's a pool of wax around the wick and then add a few drops of your favourite essential oil! My personal favourite is lavender. Lavender is calming, easing anxiety, and acts as an aid for insomnia. Lemongrass is a great one for clearing the mind and inspiring clarity. It also helps with insomnia. If you suffer from allergies or a cold, eucalyptus is a clearing and cleansing oil to burn. Tea tree has the same effect. Clove, cinnamon or vanilla smell incredible when burned in these candles too and all have a warming effect on your home.

Never blow out these candles! Instead, either snuff them out, or use a pencil or something similar to dip the wick in the wax and then straighten it again when the flame extinguishes. Any leftover or runoff beeswax should be kept, shaved and added to the candle if the wick starts to get to long.

Beeswax added because the wick has been getting long.  Already, the edges of the candle are turning black - guess our house is dusty!
A warning- legally, to be advertised as "beeswax", a candle only needs to have 10% beeswax, the rest filled with paraffin. So, when buying these candles, make sure you're getting a 100% beeswax candle!

Beeswax is also found in many natural cosmetics as well. It is great for the skin, locking in moisture and creating a protective barrier against free radicals and the like. Beeswax, like honey, is anti-inflammatory, antibacterial, antiallergenic and an antioxidant. It, again like honey, is a great treatment for wounds, speeding up the healing process and cleansing the area.

Crock Pots and Booze

There are two things that I love to cook with: my crock pot, and booze. Crock pots are easy to use, painless, and it's virtually impossible to screw up. They're especially awesome when you're busy chasing after a now mobile infant! Booze is good in pretty much everything. It adds depth to sauces, in particular, and is great for deglazing pans.

I don't cook as often as I would like to during Adrian's work week because... Well... I just don't make the time, what with Jaxson trying to spill Yuki's water dish, or chew her toys, or pull the books off the bookshelf, or his new favourite, booking it to the bathroom and trying to crawl into the bathtub. This lack of good cooking on my own is one thing I'm hoping to change. However, on Adrian's weekend, we always eat really well!


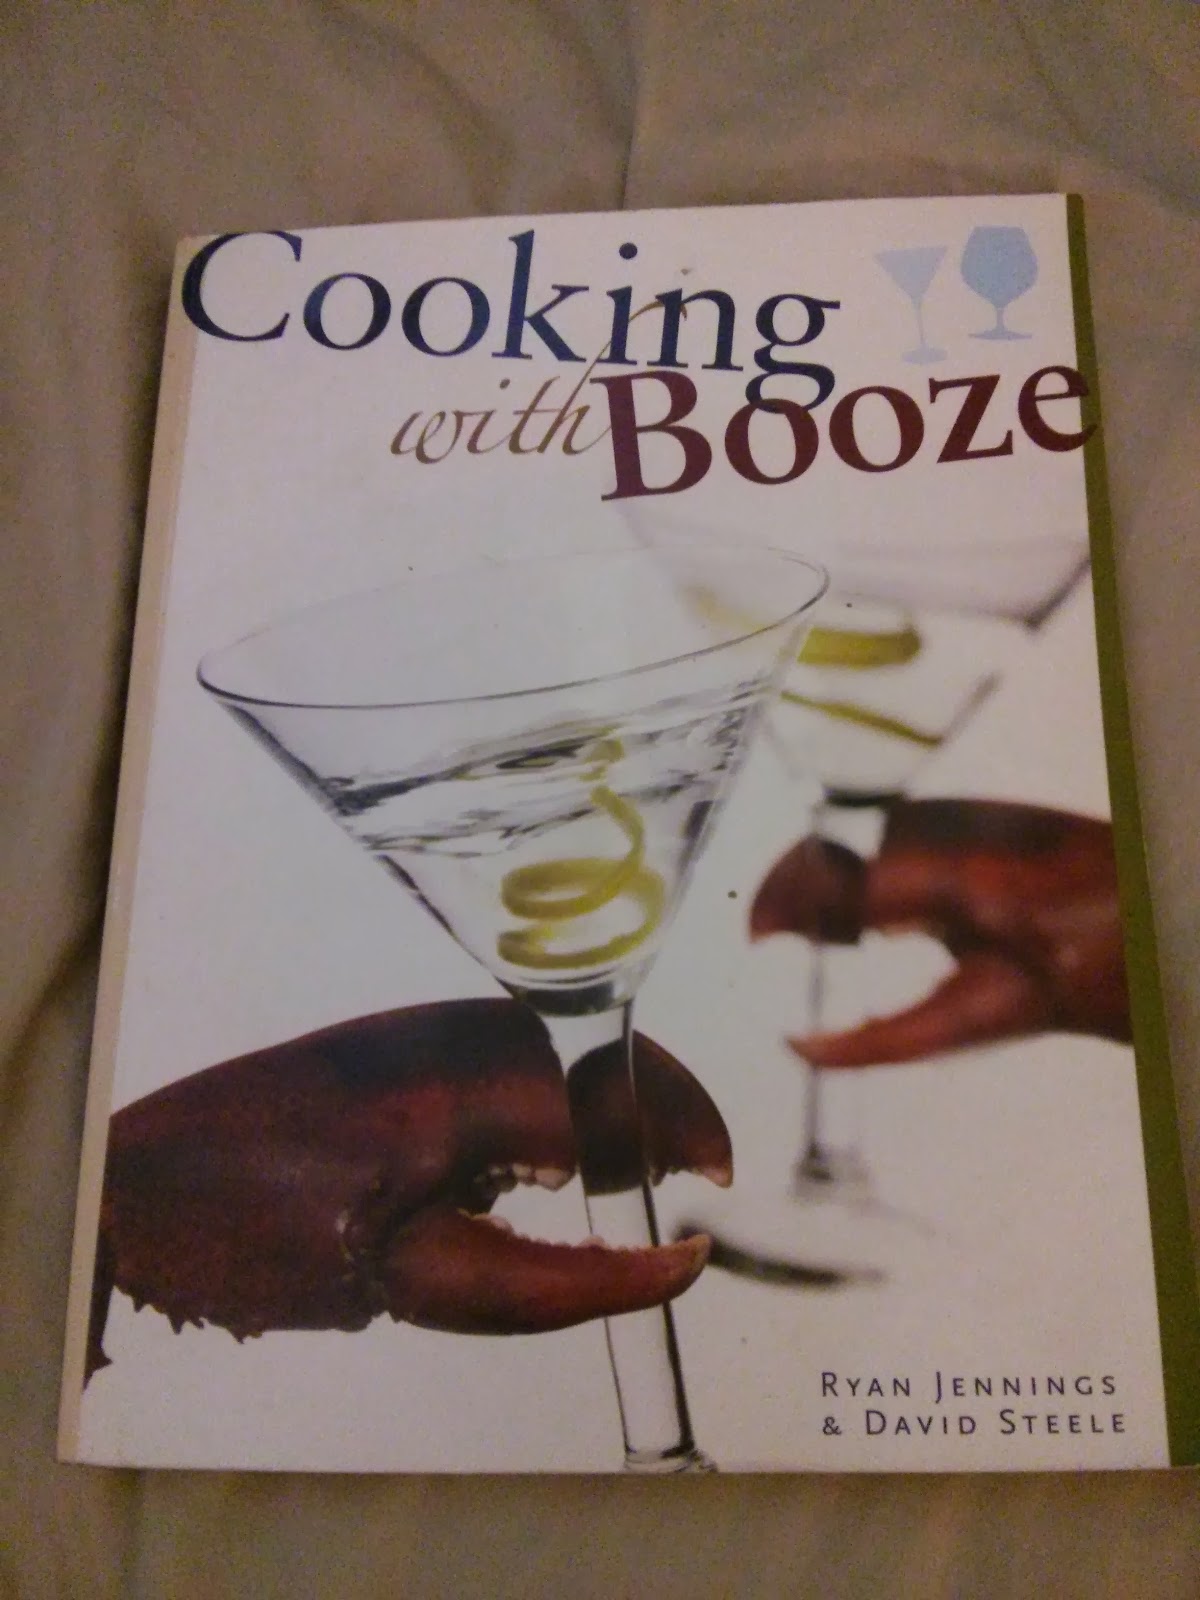
About a year ago, we were given a pretty amazing cooking book called Cooking with Booze. It wasn't until today that we were finally able to crack it open and try a recipe. The problem is booze is expensive, and when you're a new parent living on one income, it's not exactly what you spend your extra money on! However, for Christmas this year, Adrian bought a couple of our favorite liquors - Lemonhart rum and Tanqueray gin!
We decided tonight to try a delicious rum and coke rib recipe! As with all Adrian's cooking, we took some liberties with the recipe - Adrian likes to think of recipes as loose guidelines. I tend to agree with him, unless it's with baking.

So into the crock pot went:
A rack of ribs
Onions
Garlic
Carrots
About a litre of coke
Chili powder
Salt
Pepper
1½ oz rum


We let that cook on high for about 5 hours. At this point, naturally, our suite smelled mouth watering! Next step was to pop them in the oven at 325 smothered in a homemade rum BBQ sauce (one of Adrian's passions is sauces) until the sauce caramelized on top: about 30 minutes.


Thoroughly enjoyed on top of garlic mashed potatoes with a..... rum and coke of course! (Frosted glass a must)


Tuesday, January 7, 2014

Potato Bread


The Tassajara Bread Book is a phenomenal book with incredible and easy recipes for homemade bread.
One thing I will say about these recipes is they take a very long time (3 hours of rising time alone) - the recipe that I did yesterday is a variation on the Yeasted Bread. Basically, you add mashed potatoes to it! I had some left over from the other night, and have been dying to try a good potato bread recipe after having it when I worked for Bruce at Bruce's Kitchen on Salt Spring Island. This came out a lot less dense than I expected, which honestly isn't a bad thing! I swear I could eat a whole loaf to myself!


With the Yeasted Bread, you first create what's called a sponge, which is the activated yeast mixture (yeast, lukewarm water, honey) and about half of the flour needed for the recipe. You then cover this and let it rise for 45 minutes. I couldn't believe how much this stage rose! It stuck to the towel I had covered it with and I had to use a new one for the next few steps!

Yes, i'm cheating a little bit using the electric mixer - but time is important when you're worried your baby is going to wake up any minute, or you've got him trying to crawl up your leg in an attempt to vie for your attention!

The sponge, ready to rise.

The sponge, fully risen.

At this point, you add the salt and oil (you can use butter, but I used Avocado Oil - a lovely, light, flavourful oil that helps fight free radicals, lowers cholesterol levels and is loaded with vitamin E!). Fold these ingredients in, along with the potatoes. After this, I folded in the remaining flour and then dumped the dough out onto a floured board and kneaded it until it was smooth and shiny (about 10 minutes). This was when things got a little bit tricky, because Jaxson woke up and was starting to fuss and complain that I wasn't paying attention to him. Luckily, he's relatively easy to distract, especially if it's with something that makes noise! He loves "helping" me out in the kitchen by banging things together! So, by giving him the wok and some metal measuring cups, I was able to hold him off long enough to get the dough kneaded and in the oiled bowl for the second rise!


An hour later, the dough was overflowing! Gorgeous! Easy step here, all you do is punch it down 5 or 6 times, cover it again and let it rise for another 40 minutes. 

Beautiful!

After this final rise, you shape the dough into balls, knead it very briefly and then shape it into loaves. Let it rise for 20 minutes while the oven is preheating and then brush it with an egg wash and bake it at 350 for 1 hour. Once again, at this point Jaxson was not a very happy camper. Granted, I had interrupted his nursing so I could do this. And this boy can move! He learned how to crawl about a month ago now, and there's no stopping him. He's fast, and he's into everything! He especially likes books and our Yuki's toys (our dog). To contain him, I put him in his high chair and started heating up food for him: this will often hold him off long enough for me to get the last of the dishes done, or in this case, the final step of the bread!

Ready to be shaped into loaves.

The finished product! Beautiful, fluffy, chewy goodness!

After only 20 minutes our tiny little basement suite smelled absolutely incredible! Warm, inviting, homey aromas permeated the entire place- I could bathe in that smell! Fresh bread is one of the best and most earthy, relaxing scents I know!

I started this endeavour at about 3pm and the bread was finished baking and cooling on the rack at about 8pm... So as I said, a long process, but so worth it! 

We enjoyed the bread when Adrian got home from a long day at work with a carrot-squash soup that he had made and a beautiful salad! Yum, best dinner i've had in a while!


The Beginning of a Beautiful Thing!

So my son is now just over 8 months old and i'm starting to feel a bit more human and myself, feeling the need for a creative outlet, the need for something to show for the hours I spend at home. I've recently begun taking an interest in baking - something I have never before had even the remotest interest in. In fact, my memories of baking as a teenager involve way too much baking powder in muffins and a definite turn-off from the art! However, that has changed, with the help of my husband, who has inspired more of a love of food in me, and has bought a number of amazing baking books that he has no time to dive into… So instead, I have been! I've started experimenting a little bit with recipes (and by experimenting, I mean I've been attempting them) and have found I felt incredibly rewarded by my endeavours.
This past year and a bit, while I was pregnant and now a new mum, I've gotten into reading blogs. The ones I'm most into are foody and home remedy blogs. Just the other day, my husband, Adrian, suggested (jokingly i'm sure) that I start my own blog. It didn't take long for me to latch onto that idea as a way to share this need for creativity, more for myself than anyone else. A blog is a good way to express this kind of thing, and while I never in my wildest dreams thought I would become a blogger… well, having a kid changes you! For the better.
There are two blogs in particular that I really enjoy. The first one inspired me to start this one, at Adrian's urging. It's Kaye Syrah, written by my favourite high school nurse, Shelley Donahue. A great blog, with amazing stories and recipes by an amazing lady. The other is a great home remedy and natural beauty blog, called Crunchy Betty, which I was introduced to by my best friend, Jen... Awesome, i've tried a few of Crunchy Betty's remedies and love them!
And so, I announce the birth of this blog, Mommy Baker, where I will chronicle my forays into the world of baking and food in general, while being a mum and finding time somewhere to take a bit of time every day for myself to do yoga and sing.
So here we go!